Ready to embrace the future of gardening? Let’s talk about building your own DIY Nutrient Film Technique (NFT) hydroponic system. With a bit of planning and know-how, you can create a space-efficient, soil-less garden brimming with fresh, home-grown edibles, right in the comfort of your own home.
Versatile System
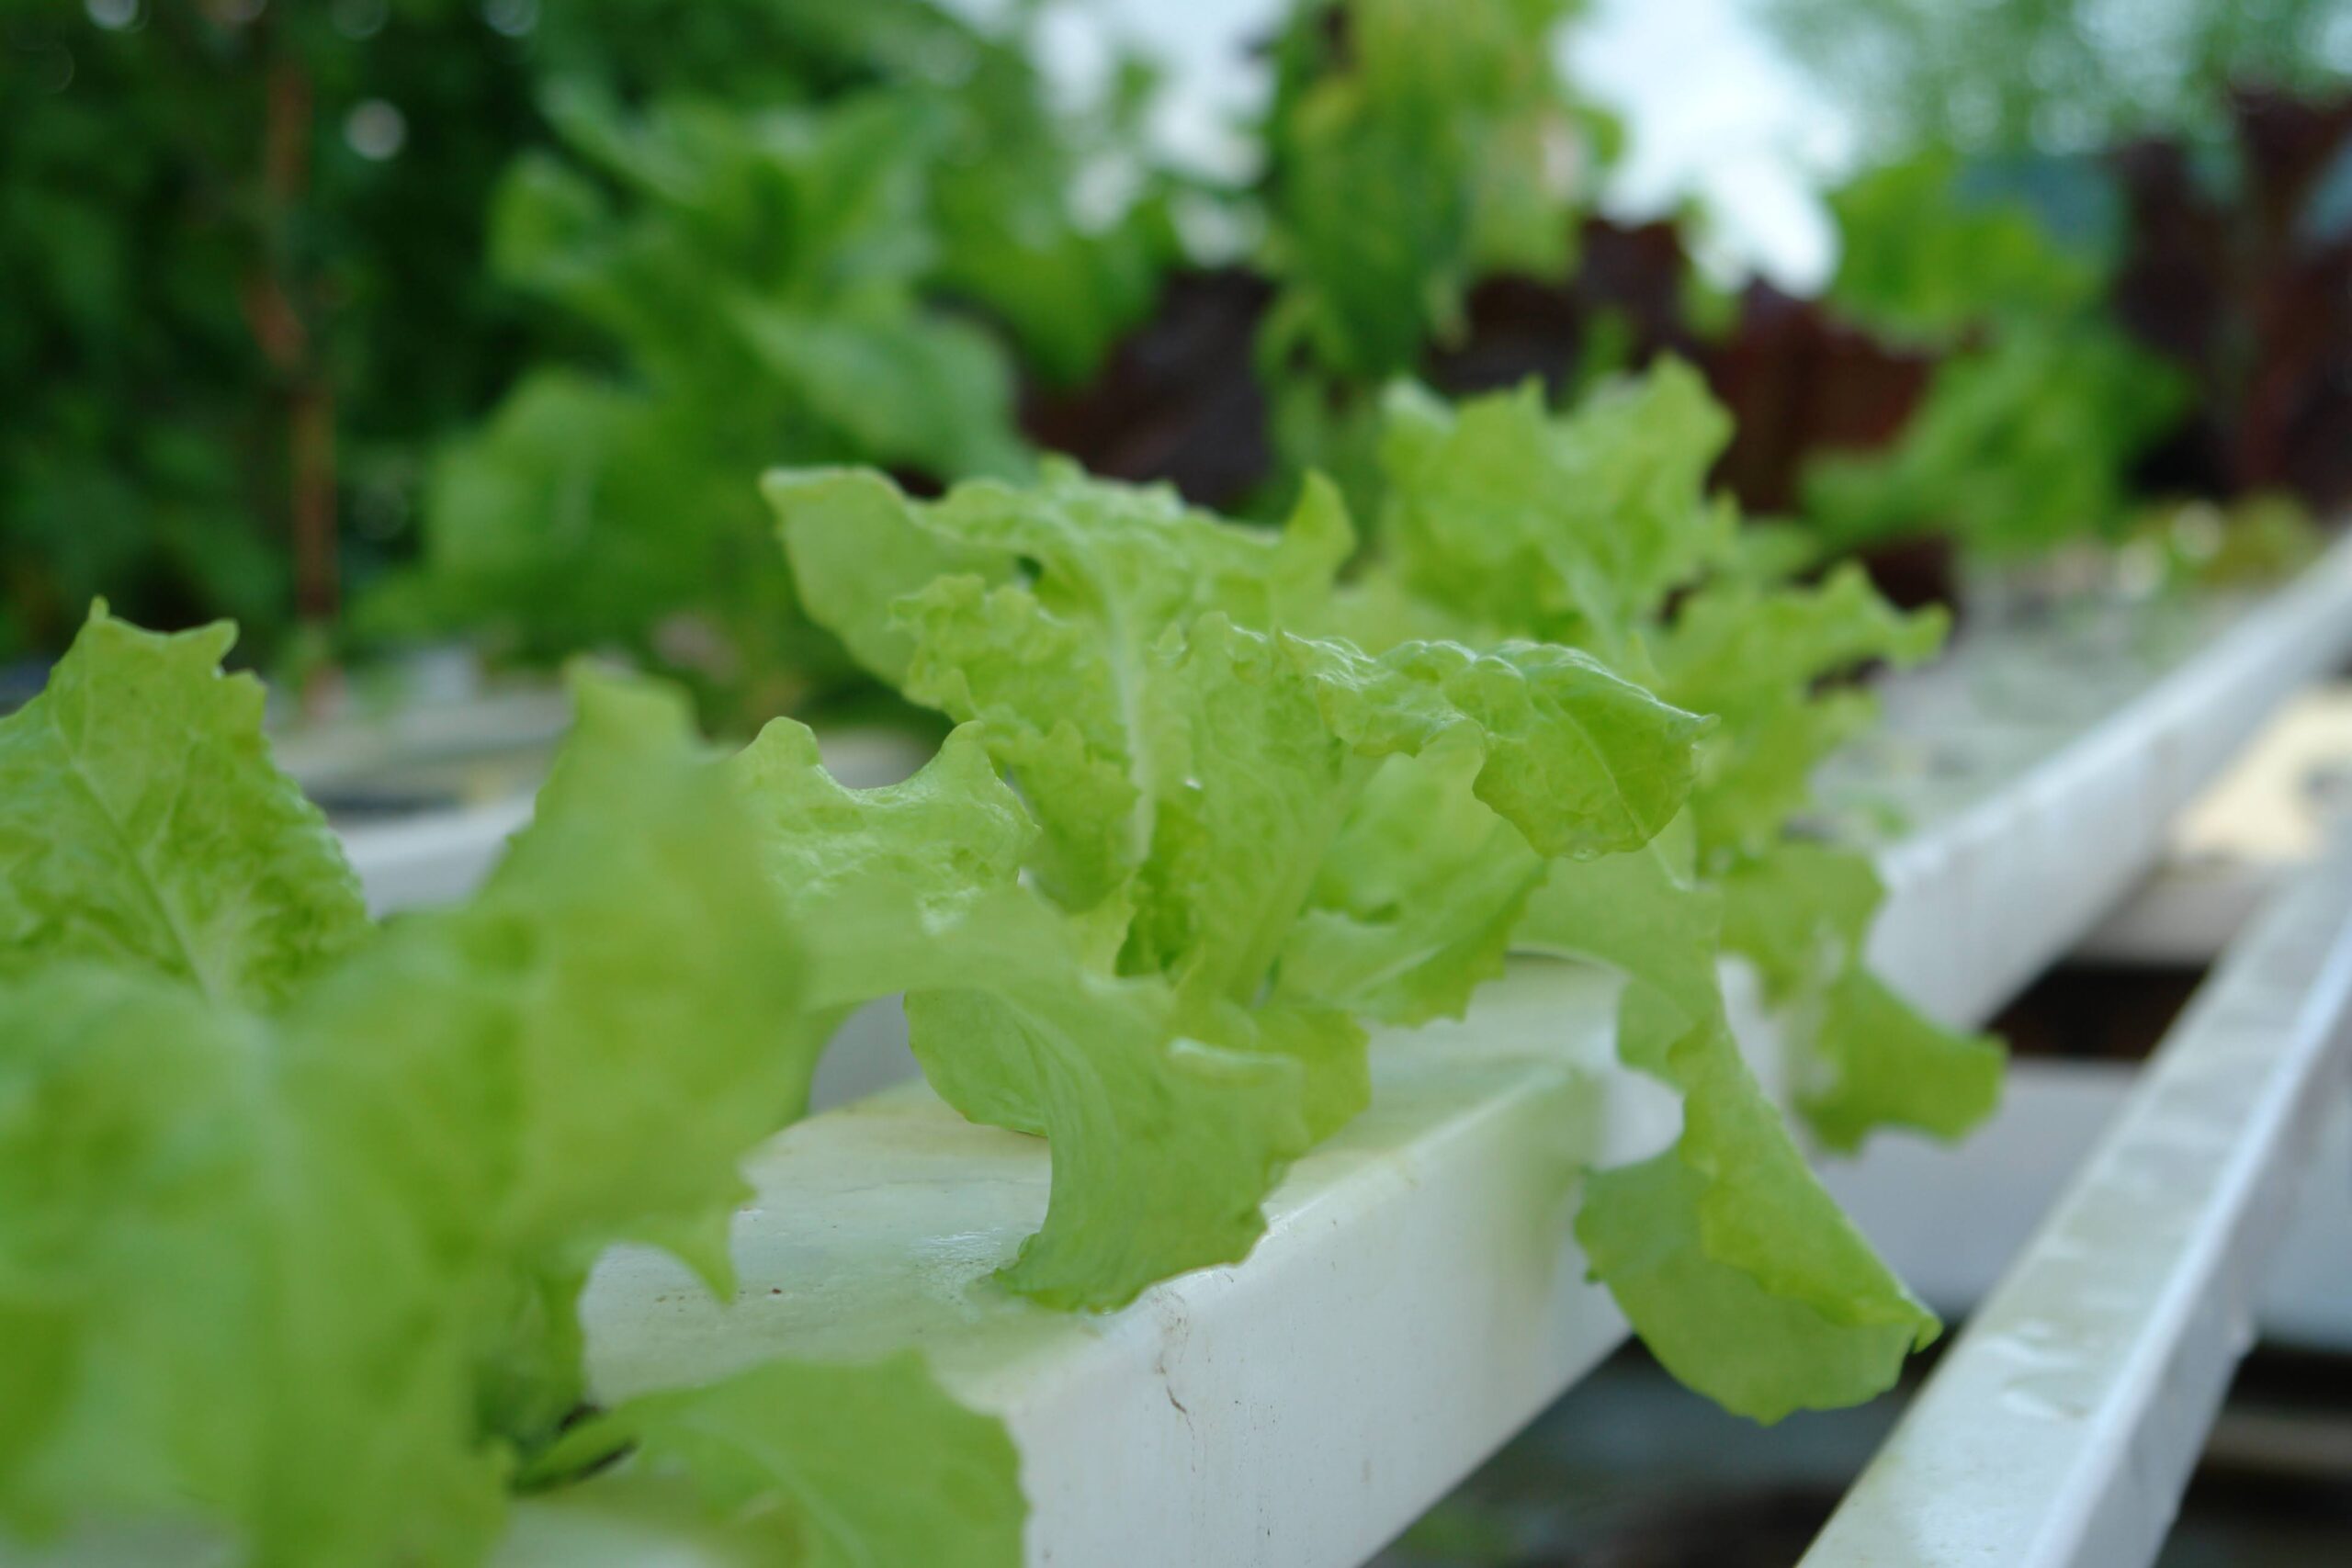
Our design can be used by home growers with limited space. I have grown everything from micro greens to cucumbers in this system.
Tested and Proven design
This design has been used by commercial growers for over 30 years. The image above is taken from our family farm.
Throughout the instructions, I give ideas on the materials you will need, but don’t specify how much of each you will need as this will differ based on the size of your system and the materials you may have at hand, or can easily purchase.
How to Plan your DIY NFT Hydroponic System
Initial planning is key when it comes to setting up a successful DIY hydroponics system. Start by figuring out how much space you have available. A wall, a backyard area, and even a sunny balcony could all be potential sites for your hydroponic garden.
180 Plant Capacity
Our NFT Hydroponic materials calculator has the flexibility to design a large hydroponic system as shown here
24 Plant Capacity
Or, using the same design and materials, just in smaller lengths, you can create a small hydroponic system to fit in tight spaces.
Keep in mind that there should be approximately 8 inches of separation between plants, so a 10-foot-long NFT system would fit 15 plants on each length of channel. The number of channels you can fit depends on the space you have available, but an ideal size would be 6 channels wide, giving you a 4-foot wide system. In this 4 x 10 foot table, you would have space for 90 plants. You can play around with the length and width to fit the space you have. You could even make a small 14 plant system using two lengths of channel, each with 7 spaces.
If you’re short on floor space, consider modifying the NFT Hydroponic system for wall mounting. Install the channels on a wall in a zig-zag pattern. Water is pumped into the top channel, cascades down through the zig-zag arrangement, and then returns to the reservoir. When setting up a wall-mounted system, use an even number of channels. This ensures that the lowermost channel’s open end aligns with the reservoir’s location.
Step-by-Step Guide to Building the Base Structure
The base is the backbone of your NFT hydroponic system, and building it right is crucial. This structure can be made from wood, metal or PCV piping and it’s function is to support the NFT channels, holding them in place and on a slight angle so the water flows down the channels into the reservoir.
DIY NFT Hydroponic Channels
For the channels, opt for PVC pipes, preferably with a rectangular profile similar to gutter downspouts. Before buying the pipes, make sure you can also find suitable end caps for them. Cut the pipes to the desired length. Then, using a drill fitted with a hole saw bit, create holes in the channel at 8-inch intervals. It’s a good idea to first find out what sizes of net pots are readily available and then drill the holes to match their diameter. To ensure precise drilling, you can make a wooden jig that fits over the channel. This jig will guide the drill bit, ensuring a perfectly centered hole every time.
Clean the channels thoroughly to eliminate any debris. Then, attach the end caps using cement on one end of each channel. Place these prepared channels on the base, ensuring their open ends face towards where the reservoir will be located. Next, install PVC guttering across the width of the system, directly beneath the open ends of the channels. Cap both ends of this guttering and add a downspout positioned right above the reservoir. This gutter will effectively collect water from each channel and transport it back into the reservoir.
Setting the Water and Nutrient Solution System
The next step is to set up the water and nutrient system. You will need a reservoir, a small water feature pump, and both 1/2 inch and 1/4 inch irrigation tubing with some 1/4 inch barbed couplings. You will also need some 1/2-inch end caps. For the reservoir, this can be a bucket or a storage bin. The larger the system, the larger the reservoir needs to be, my suggestion for a 90-plant system would be around 100 liters, but less than this would also work as long as you consider condensation and the fact that as your crops grow they will consume more water and you will need to top up the tank more often.
Connect the half-inch tubing to the water pump. Run this tubing along the length of the system, ending it flush with the capped end of the channels. At this end, install a 1/2-inch tee connector. From here, extend more half-inch tubing across the entire width of the system. Cap both ends of this tubing.
Next, use 1/4-inch barbed couplings to attach two lengths of 1/4-inch tubing from the main half-inch pipe into the top of each channel. Drill a quarter-inch hole at the top of each channel for this purpose and insert the tubing.
1/2 Inch Irrigation Hose
This image shows the 1/2-inch irrigation pipe running from the tank to the back of the system.
1/4 Inch Irrigation Hose
From the 1/2 inch irrigation, plug in two 1/4 inch hoses that plug into the top of each channel.
Assign one length of quarter-inch tubing for each channel in your system. The water pumped from the reservoir will travel through the half-inch pipe to the far end of the system. There, it will enter the quarter-inch pipes and flow into each channel. The water then runs down these channels, collects in the gutter, and is channeled back to the reservoir, thus completing the cycle.
To finalize this stage of the build, use clamps to secure the tubing to the base for stability and neatness. You can now fill the reservoir with water, start the pump, and ensure that the water circulates through the system as intended.
Planting and Maintaining your Crops
Now that the structure is complete, it’s time to plant! You have two options for planting: either directly sow the seeds into net pots filled with perlite, or start the seeds in grow trays. If you choose the latter, once they germinate, transfer them to the net pots in the hydroponic system. Remember to gently wash their roots first.
In the system, ensure the water level is just high enough to keep the bottom of the grow cup moist. Perlite will absorb and distribute the water upwards, keeping the entire pot adequately moistened. If you notice excess water in the channels, adjust their angle to increase the flow rate. The ideal angle is very subtle, barely noticeable to the naked eye, to ensure a gentle water flow.
Lastly, it’s important to add nutrients to your system. Use a TDS (Total Dissolved Solids) and pH meter to monitor nutrient and acidity levels, adjusting as necessary. While you can create your own nutrient mix, there are also many pre-made options available on the market for convenience.
Troubleshooting Common Issues in NFT Hydroponic Systems
Running into issues within your NFT hydroponic system is common. Perhaps you’re noticing slow growth, yellow leaves, or other signs of distress in your plants. Don’t panic! Often, these problems are caused by a lack of nutrients, improper pH, or poor water circulation.
Keep an eye out for leaks in your system too, as this could drain the resourvier causing the system to dry out.
Regularly monitoring your system will give you plenty of opportunities to catch and correct these issues early. Familiarize yourself with common issues and solutions to ensure a healthy and productive hydroponic garden. Building and maintaining an NFT hydroponic system might seem daunting, but once you’ve got the hang of it, you’ll surely agree that the fruits, or rather the veggies, of your labor are well worth the effort!